 PACS
Desktop Viewer
 PACS
Desktop Viewer
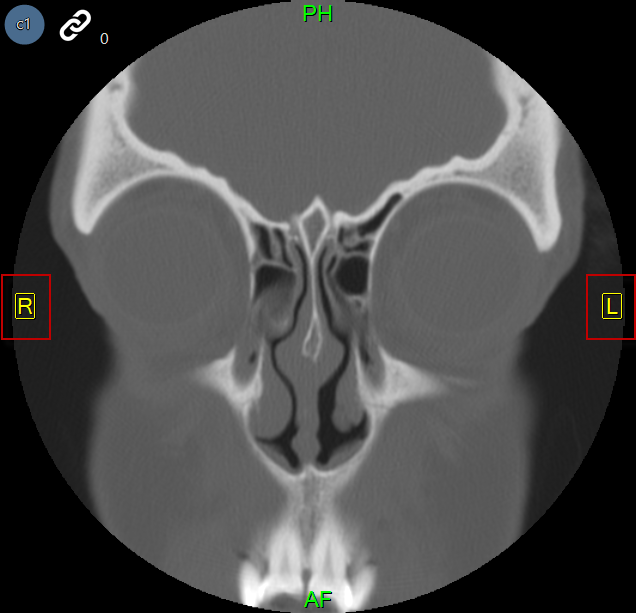
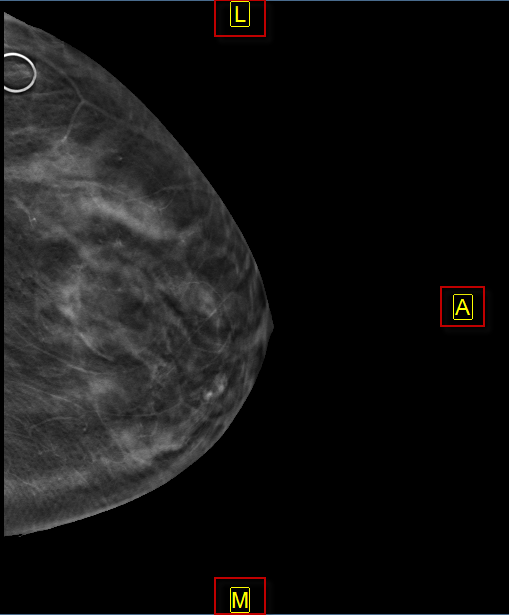
The auto orientation feature overrides the default patient orientation, as defined by the modality, and applies a user-defined orientation. When auto orientation is applied to an image, the patient orientation markers are force to appear on the image and are displayed in yellow.
The images below represent a sinus CT and a Mammography that have Auto-Orientation applied.


The auto orientation tool is available for the following:
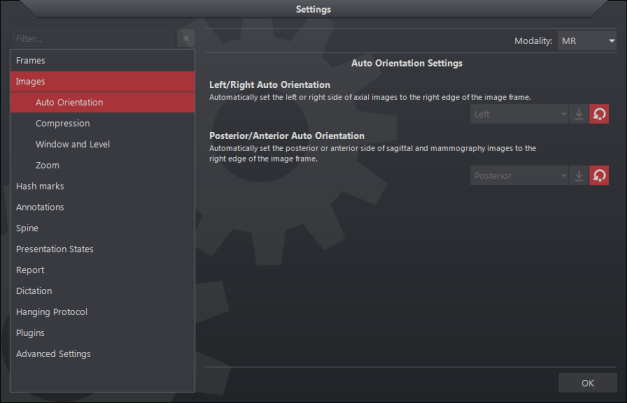
To enable auto orientation:
