 eRAD
PACS Server
eRAD
PACS Server

eRAD
PACS Server
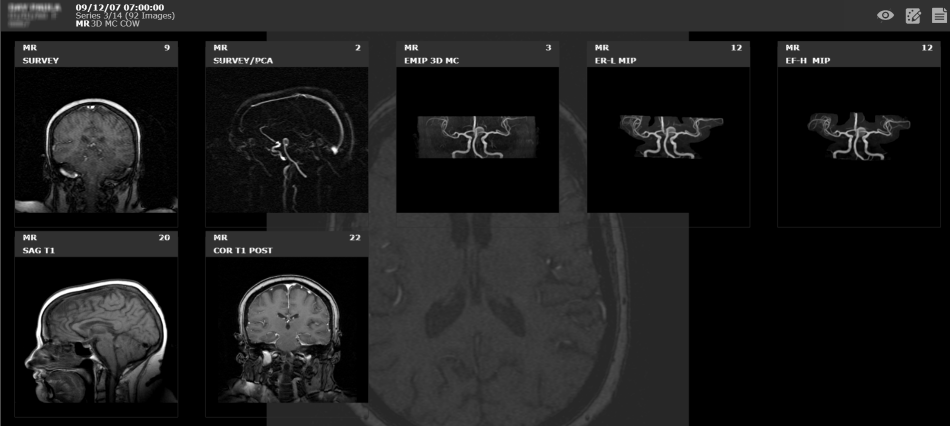
There are many tools available on the web viewer main page that can be used to manage images. Hovering the cursor over certain areas of the page will reveal hidden tools as well as clicking on the mouse button controls. Different methods of managing images are also available on touch-enabled devices.

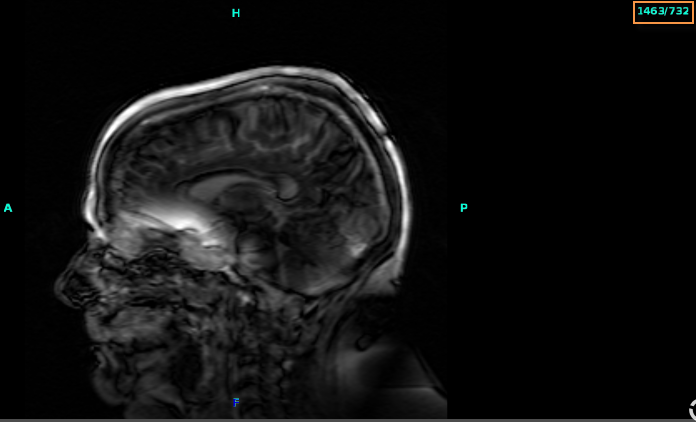
The numbers located at the top right of an image are the Window and Level of an image. To change the window/level right click on the image and move the mouse forwards or backwards.
For touch-enabled device, drag your finger left/right or forward/backward to change window/level. Double click on the image to return it to it's original window/level.
To rotate the image:
Hover over the top or bottom left corner of the image
Click and drag over the hidden control
 to rotate the image
To flip an image up and down:
Hover over the top or bottom right corner of the image
Double
click the hidden control  to flip the image
To flip an image left to right:
Hover over the left or right side of the screen
Double click the hidden control
 to flip the image
For touch-enabled devices:
To zoom on an image:
To move an image in the viewing area:
Apply a zoom on the image
Left click to hold and drag the image
On touch-enabled devices:
Pinch fingers together or apart to zoom in/out
After applying a zoom, use two fingers to pan image
To convert an image to Grayscale, double right click on the image.
Normal: Grayscale:
Grayscale is currently unavailable on touch-enabled devices.
There are two ways to scroll through a series:

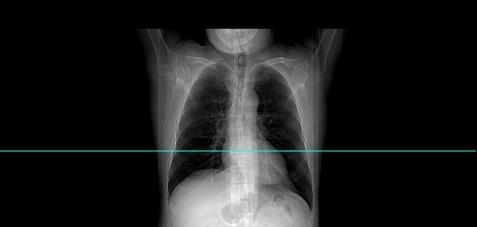
To display the image localizer, hover over the left or right side of the screen and to reveal image controls.
The  instructs the user to double click to reveal the image localizer:
The Select control  instructs the user to click once on
the localizer image to select different localizer image:
instructs the user to click once on
the localizer image to select different localizer image:

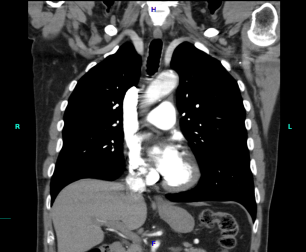
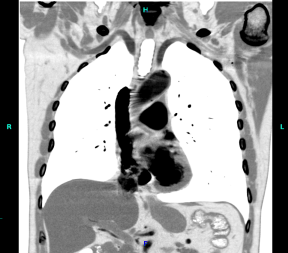
An overlay will appear with the different image planes:
Select on the desired image to change the localizer image on the main viewing page.
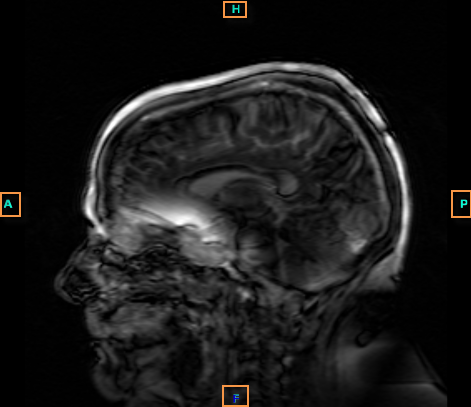
Orientation markers indicate the position of the imaged body and will appear in the center of each side of the image. Letters are used to indicate the orientation of the image.
*When the image object does not provide enough information for eRAD PACS to accurately determine this information, no orientation is provided and a ? will appear in place of the orientation marker.
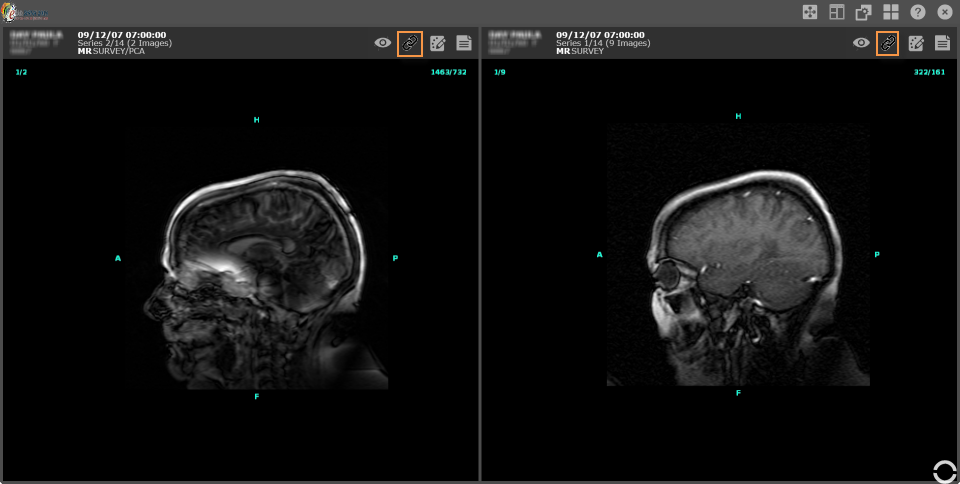
When 2 or more images are open in the viewer main page, the Toggle
Series Linking  icon appears.
Select the icon on all the series to perform certain functions for all
images. The icon will appear highlighted for all linked series.
icon appears.
Select the icon on all the series to perform certain functions for all
images. The icon will appear highlighted for all linked series.
Functions that can be linked include:
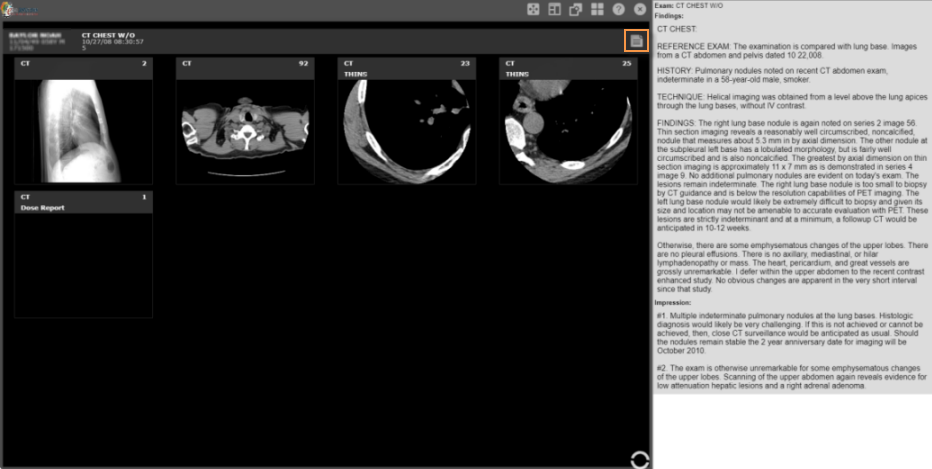
To display the report, select the Toggle
Report Panel  icon.
icon.
To return to the main series viewing page or worklist:
Select the Back/Close  icon (select again from Series viewing area to return
to worklist)
icon (select again from Series viewing area to return
to worklist)
Hover the upper right or left corner
to reveal a hidden icon 