 eRAD
PACS Server
eRAD
PACS Server

eRAD
PACS Server
Users can customize the worklist to present the information needed in a format best for them.
Customization includes:
Arranging columns
Adding fields within columns
Creating new field columns
Adding worklist tool icons to the worklist
Items that can be edited:
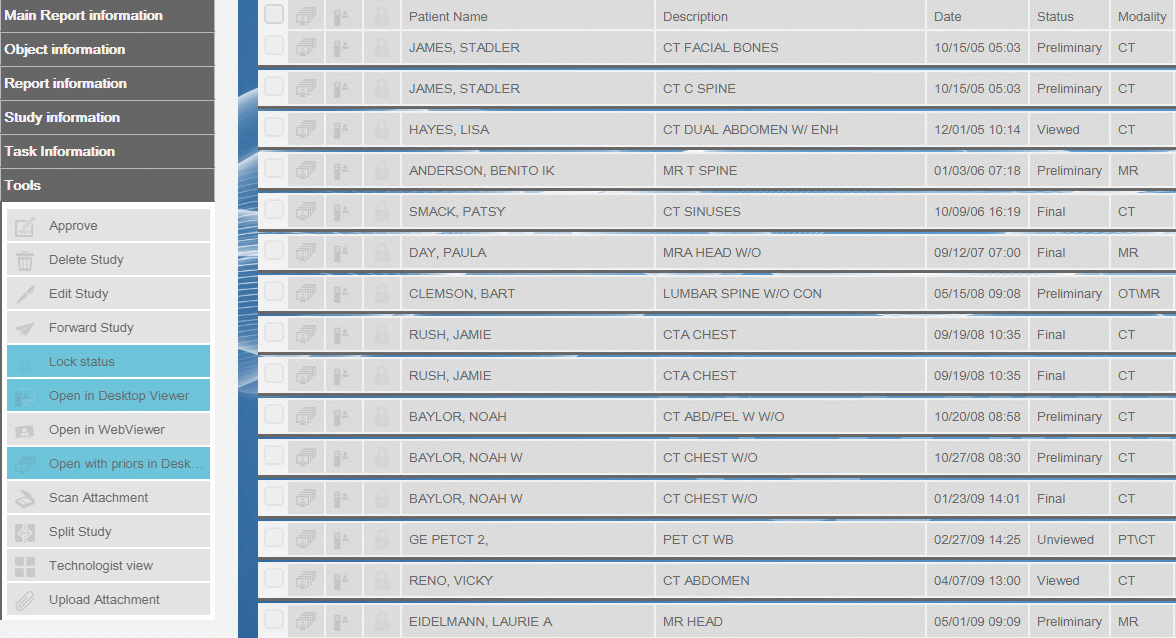
When the Edit Layout icon
 is selected a page will appear on the
left side of the screen and the worklist will be in edit mode with the
normal cursor changing to a hand. The column configuration page is displayed
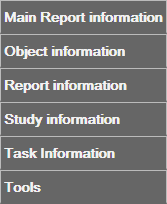
on the left. When formatting the worklist select one of the topics (Object
Information, Tools, etc.) to reveal a dropdown that contains worklist
fields.
is selected a page will appear on the
left side of the screen and the worklist will be in edit mode with the
normal cursor changing to a hand. The column configuration page is displayed
on the left. When formatting the worklist select one of the topics (Object
Information, Tools, etc.) to reveal a dropdown that contains worklist
fields.
For more information on each field see:
There are various ways to customize the worklist:
Left-click and drag an icon or a header line item to add to the worklist and drag back to the list to undo the action
Left-click and drag a column to change the placement of the header line item
Columns and icons can be added below a list item to create another row within the row
Add or remove worklist tools
Below is a visual example of the different ways to customize the worklist:
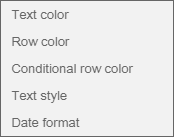
Right click anywhere on the Edit Layout page to reveal a window that customizes the worklist style:
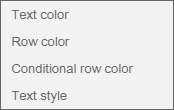

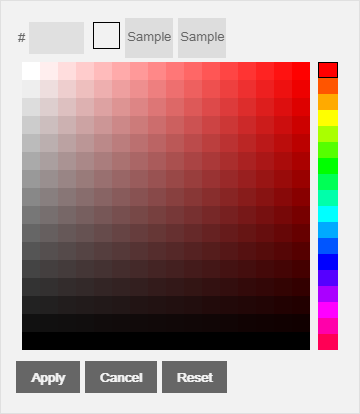
From this color chart the user can change the text and row color.
When Conditional row color is selected, the user can color code worklist column values by dragging and dropping them into the Drop field here... area. Worklist values can be added from the Filters area or the Sort order area.

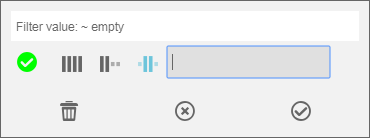
When adding a conditional row color to a value, a filter window appears
to define the filter. Select the Apply
 icon to save.
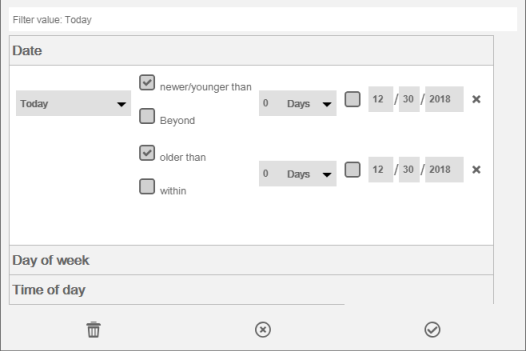
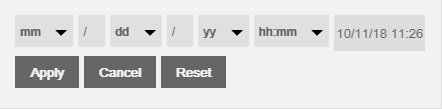
When adding a conditional row color to the Date
value, a window appears that allows the user to select a date and time
to color code. Select the Apply icon to save.
Select the squares to reveal a color chart and select the desired row colors. Colors can be changed for multiple values as shown below.
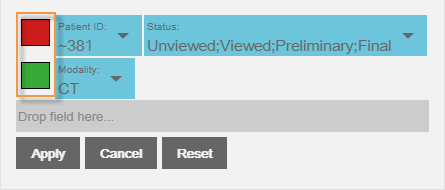
Values placed next to each other in a vertical format have a Boolean logic of OR. Values places next to each other in a horizontal format have a Boolean logic of AND.
To remove the colors from the worklist:
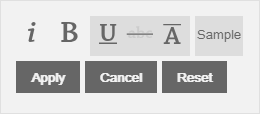
From this window, the user can change the text style of the worklist. Select the desired style and select the Apply tab. Select the Reset to start over or the Cancel to end the action.
Right click over the Date column to reveal a Date format option:
Select the Date format according to the server's configured name format settings.
Right click over the Patient Name or Physician Name option a new Name format option is revealed:

Select the Name format according to the server's configured name format settings.
