 eRAD PACS Server

eRAD PACS Server
The Web Server settings offer the ability to customize color scheme, default viewer version, default page, and default language.
See: Default Language
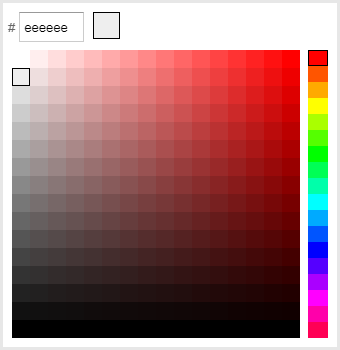
The color of the icons is also able to be changed using the color chart below.
The web server allows the user to customize the color scheme of the server. The options are ERAD or Darkroom.
See: Server Main Page
The default page users are directed to after logging in can be defined for the system here. The options are Dashboard, Worklist, User Accounts, Server Information, Server Settings, Tasks.
Factory default is set to Dashboard.
User preferences can be defined, copied, or reset for users, groups, or the system here. Click the Configure button to open the preference configuration page.
Use the Load settings of section to select the source account.
Use the Change settings to section to select the target(s).
Assign settings by checking the box in the settings section. Only checked settings will be copied to the target account(s). Use the search field to find a specific setting. (The section will be expanded.) Click Toggle Summary to review the changes to apply. Click Confirm to apply the changes. When done and after applying changes, close the panel by clicking the Cancel button in the bottom, right corner.
A specific viewer version can be set for the system here.
Factory default is set to Latest (recommended). Viewer versions can also set per user group or user account. See User Groups User Accounts
A custom 500x50 pixel banner can be applied to each server.
Click Confirm
icon  to save changes
Click Remove banner option to remove set banner. Refresh your browser page or log out and back in to see updated state of banner.
A custom log can be applied to the login page of an individual server.
Click Confirm icon to save changes
Click Remove logo option to remove set logo. Log out to see updated login page.