 PACS
Desktop Viewer
 PACS
Desktop Viewer
eRAD PACS supports various methods of obtaining measurement values:
Distance
3D Distance
Angle
3D Cobb angle
Region of interest
Free region

To obtain a distance measurement:
Click
on the Measure Distance icon  in the toolbar.
Click and drag mouse to expand the measurement ruler or region.
Release the mouse button to get the measurement value.
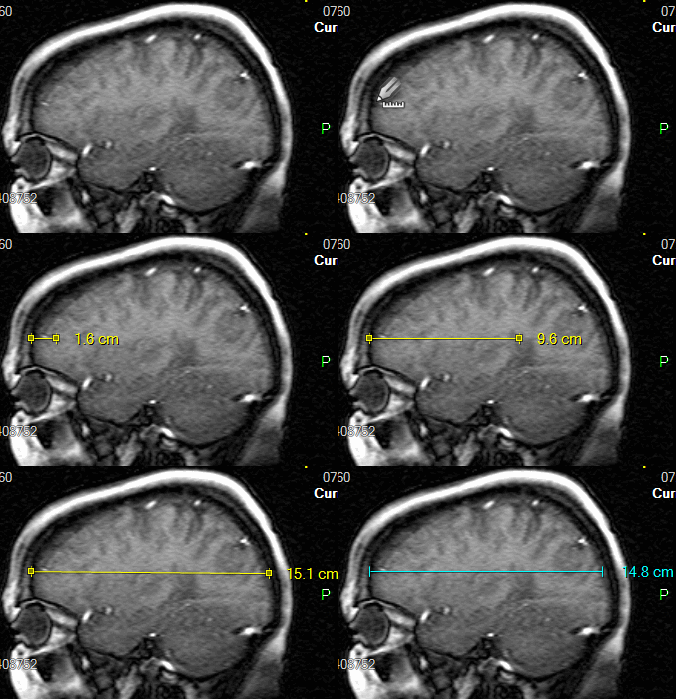
NOTE: Hold Shift while dragging mouse to draw straight and plum line

3D Distance (Linear) Measurements
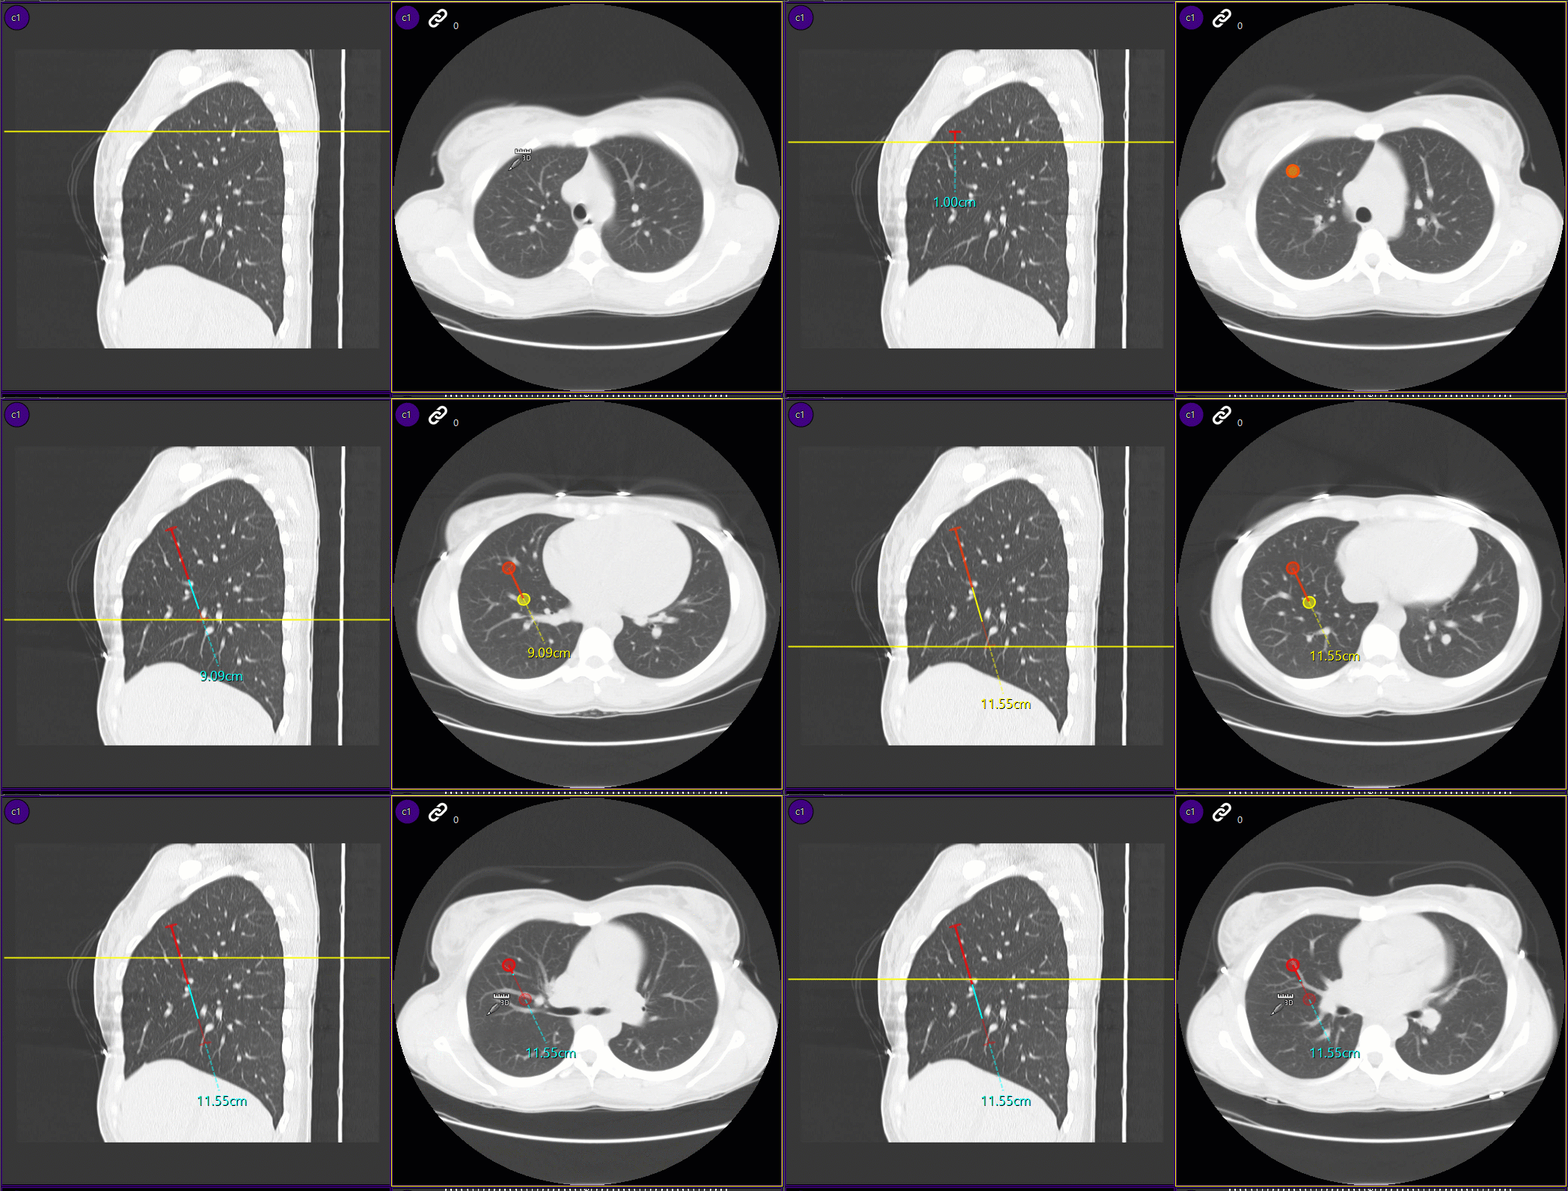
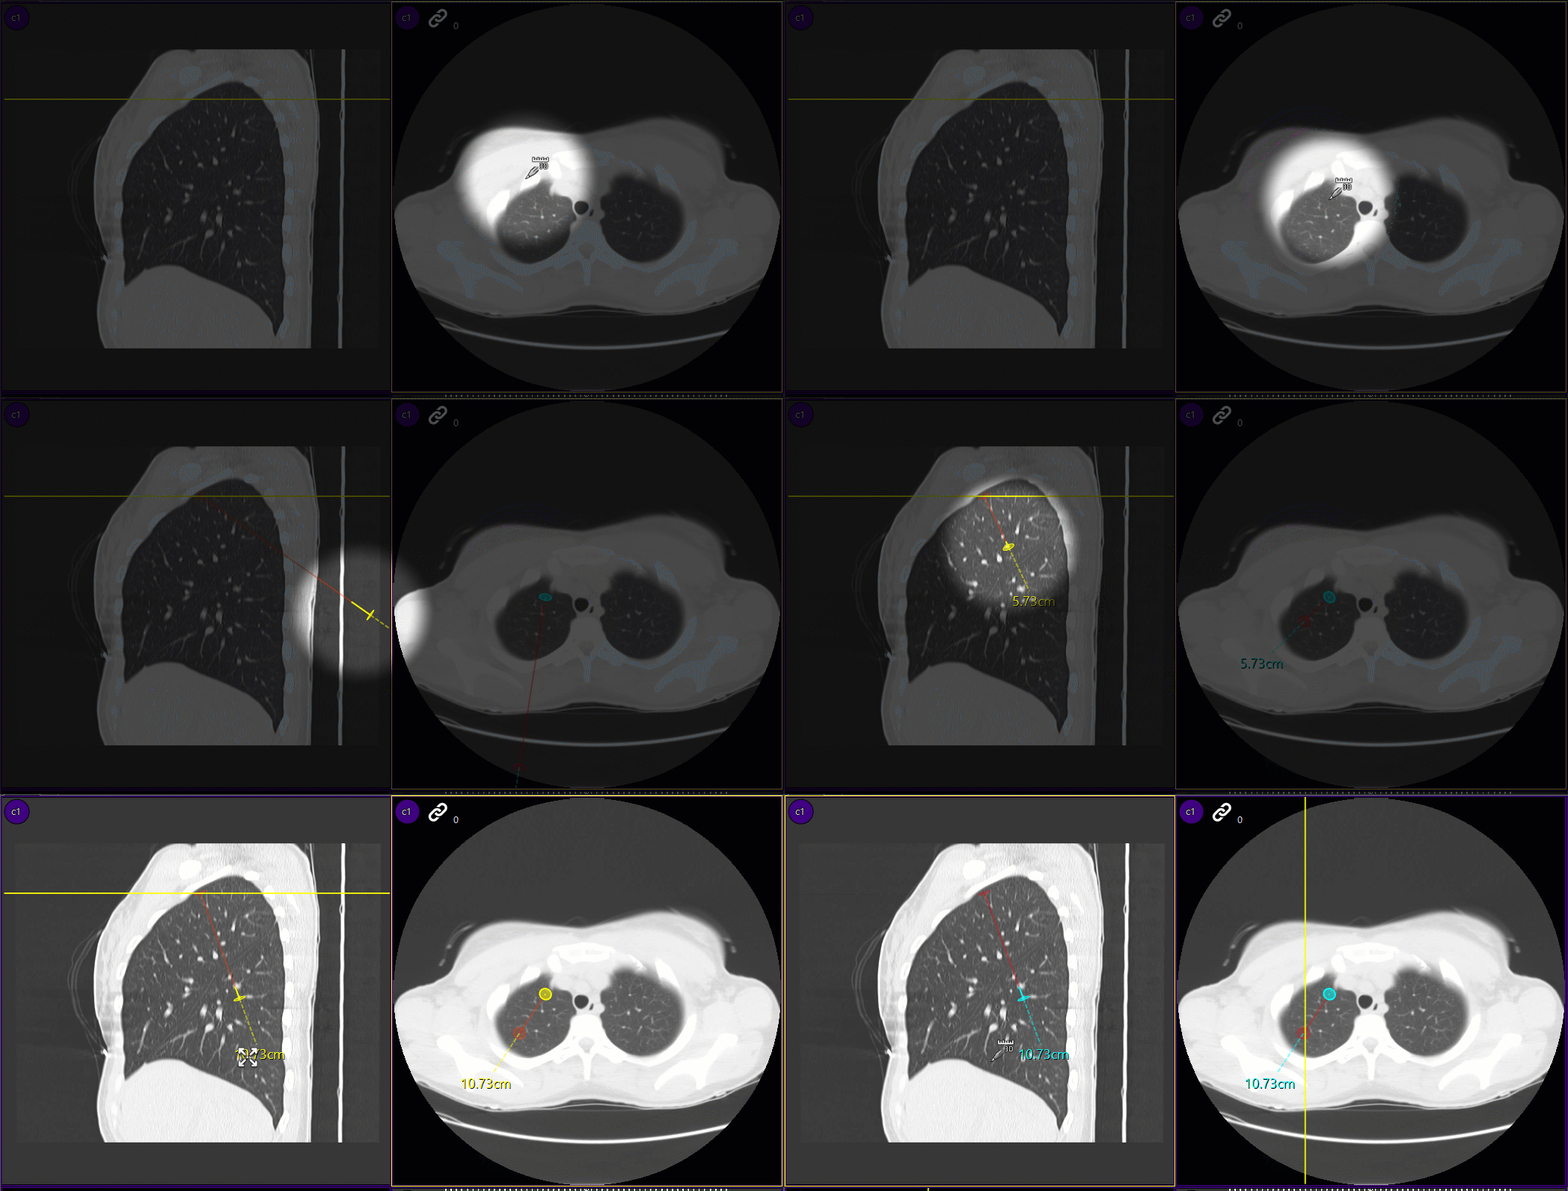
To obtain a 3D measurement:
Click on the
3D measure distance icon
![]()
Click and release to begin the starting position
Use the mouse wheel and scroll to another image in the same series or any other point in a series that shares the same frame of reference
Click to define the end point of the distance measurement

To obtain an angle measurement:
Click
on the Measure Angle icon

Click and drag mouse to create first ray.
Position the mouse cursor at the starting point of the second ray, press and drag to create line.
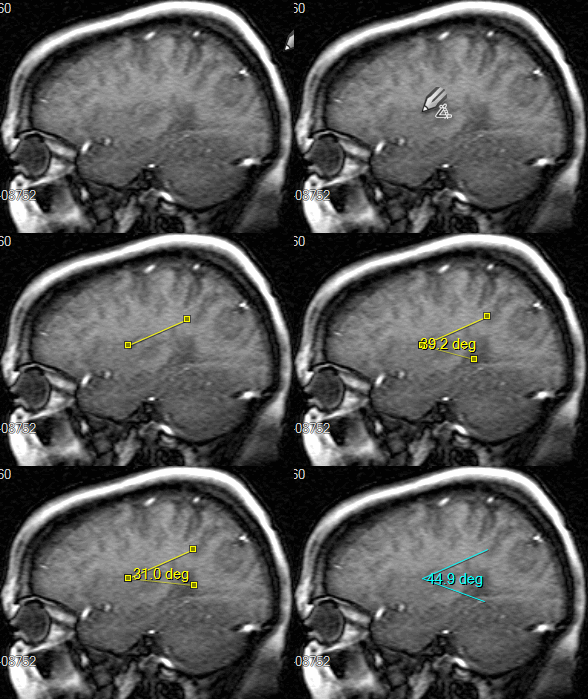
To display the exterior angle, right click the annotation and select Exterior Angle.
NOTE: Hold Shift while dragging mouse to draw straight and plum line

If the two rays in an angle measurement do not intersect, the reported angle measurement represents a Cobb angle:
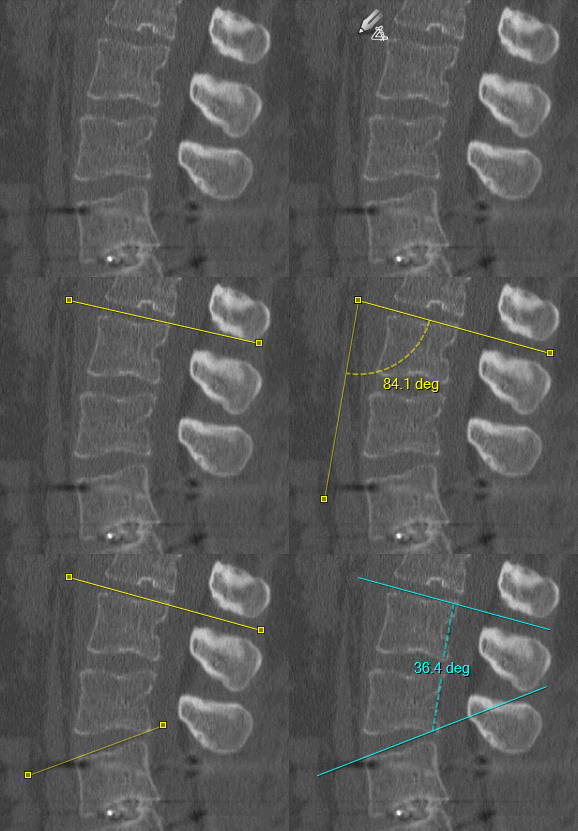

To obtain a 3D Cobb angle:

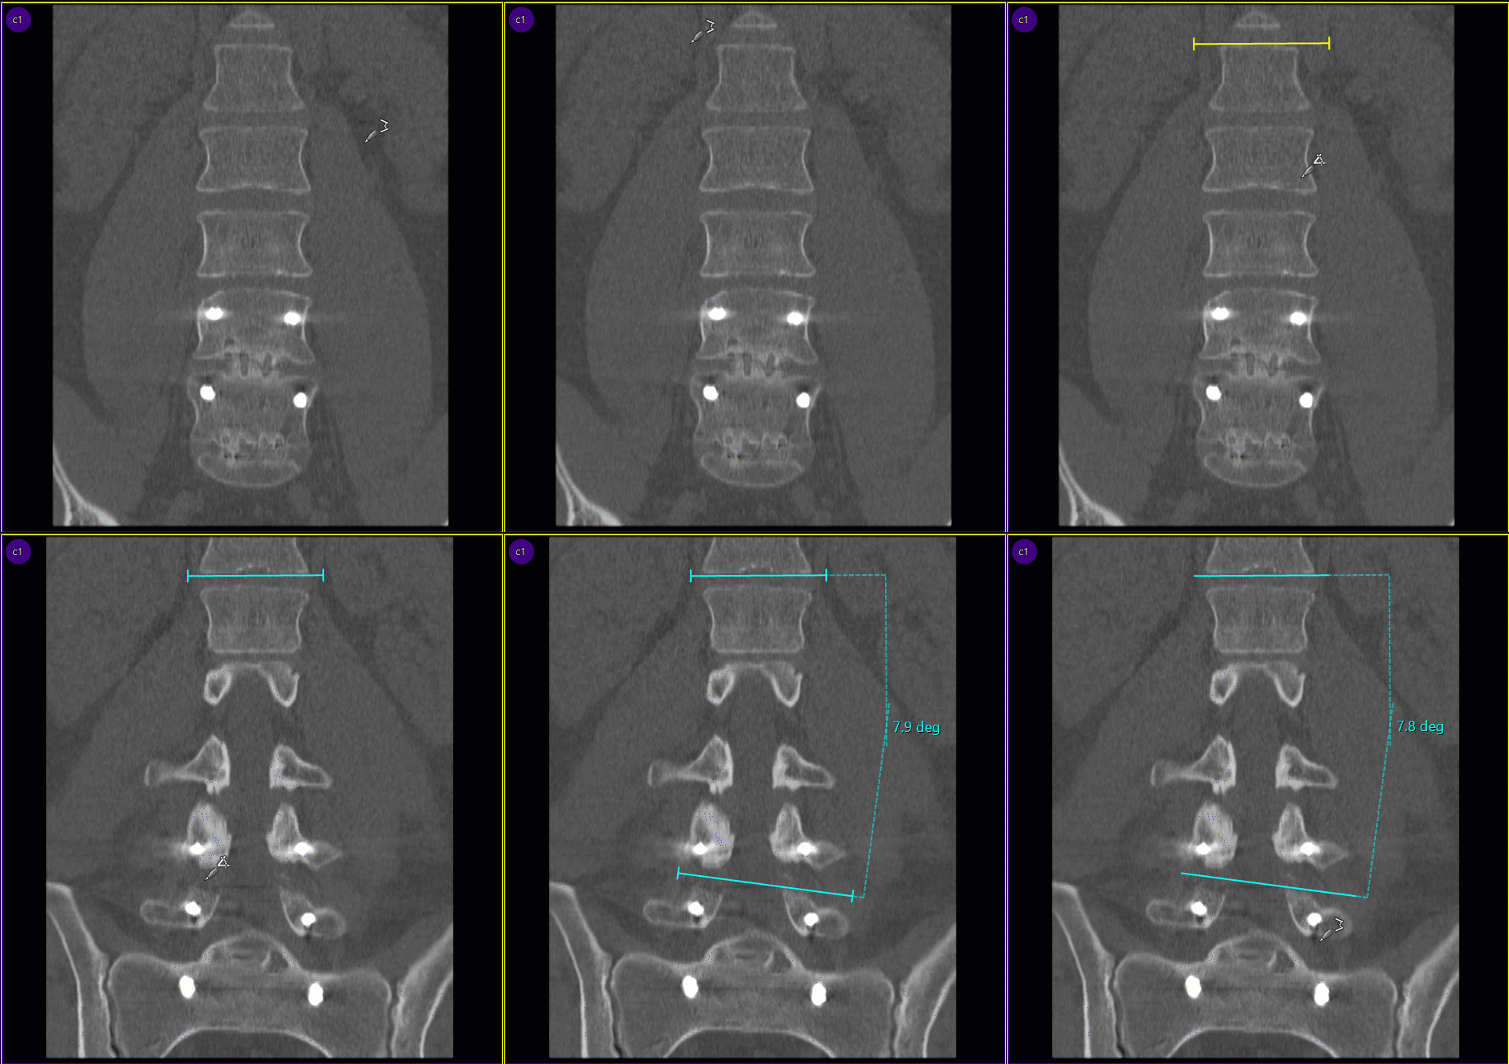

To obtain a region of interest measurement:
Click
on the Region of Interest icon  in the toolbar
While holding down the left mouse button, drag the cursor to expand the region
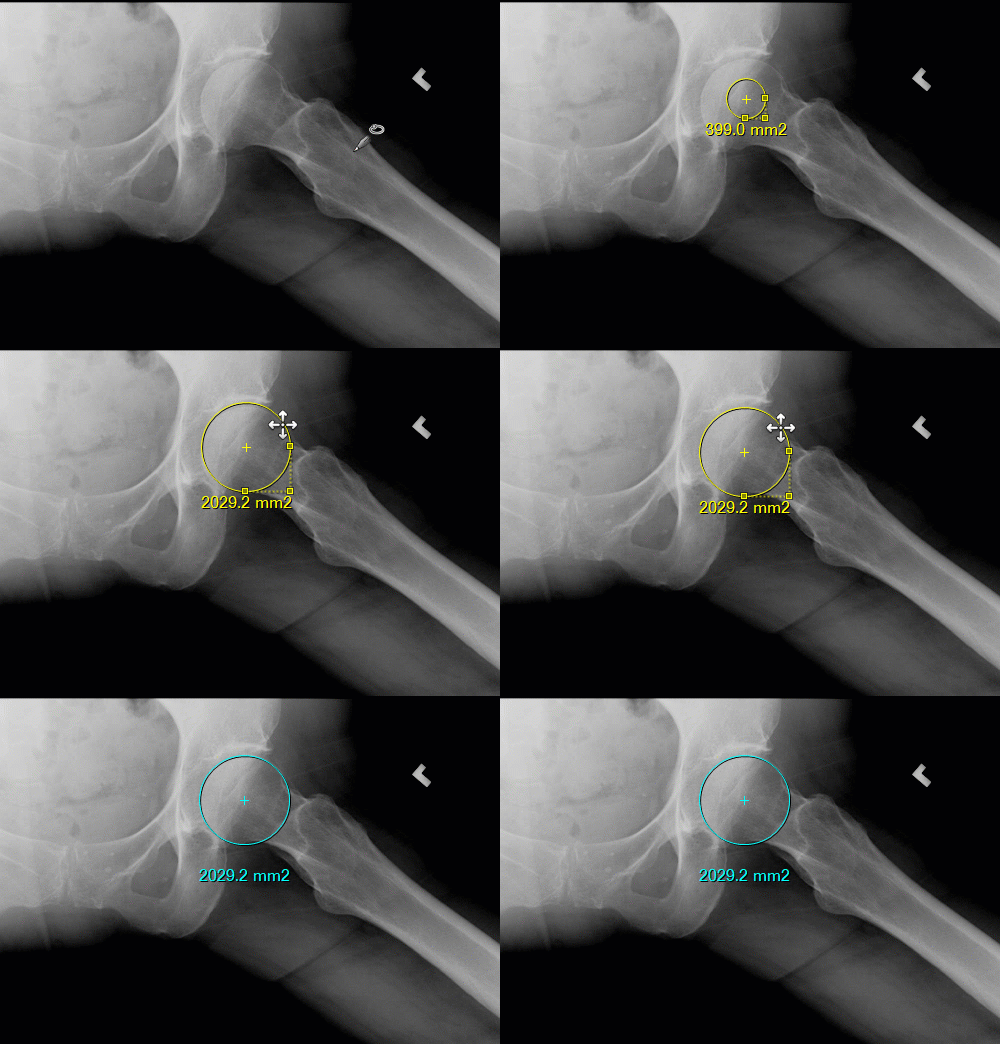
The default region of interest drawn on the image is a true circle. When resizing the ROI, maintain a true circle by using the corner grab points.

To obtain a free region measurement:
Click
on the Free Region icon  in
the toolbar
Move the cursor to a starting point on the image and click the left mouse button
While holding down the left mouse button, drag the mouse to define the region
When you release the mouse button, the viewer automatically closes the region by connecting the end point with the start point.
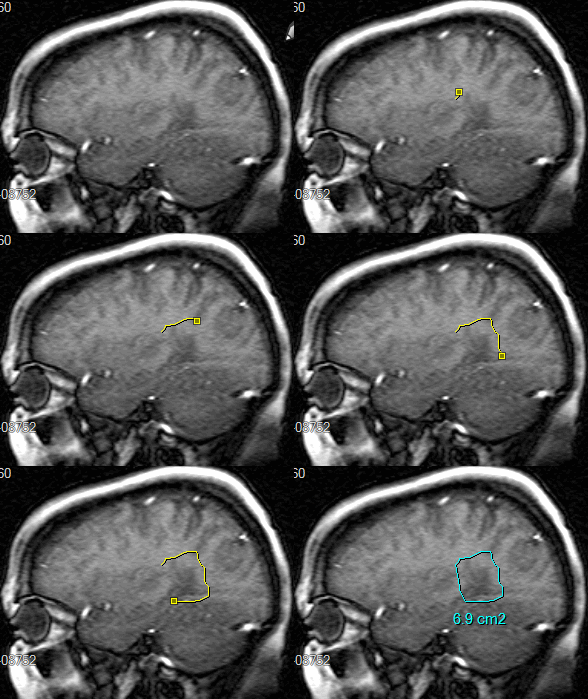
To correct the region outline of the free region:
Move the mouse until it crosses over the point you want to move
Click the left mouse button and drag the mouse to move the line.
Release the mouse button. The viewer recalculates the area inside the region.
If you hold the Shift key while dragging, the line will move in an arc. Without the Shift key, you will just move the point under the cursor.