 PACS
Desktop Viewer
 PACS
Desktop Viewer
eRAD PACS supports preset settings for window width and center. Preset settings allow you to group together one or more settings to a specific function, and then apply those settings all at once by selecting the tag from a list. In the case of preset window and level, you can create modality specific window/level pairs, and apply them to a selected image by selecting them from the list. The preset list of window and level values provide a list of all saved window/level settings for a specific modality type. The preset window/level list appears in the window/level toolbar. The list of preset values is in the pull-down menu. A few default values exist in the preset window/level list.

Window Level Values
Preset window/level menu
Save current W/L
Enhancement Filter Presets

Predefined settings are available for the selected image in the Window/Level dropdown on the Window/Level toolbar.
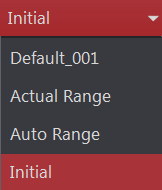
Settings |
Description |
Actual Range |
A full window width, centered in the middle of the maximum range, as defined by the encoded image information |
Auto Range |
The result of a histogram equalization analysis performed on the data. In most cases, this results in a smaller distribution than the actual range due to the interpretation of the pixel data values |
Initial |
default window width and center values explicitly defined in the image object |
Note: The Initial, Actual Range and Auto Range settings cannot be deleted or modified.

CT studies will have their own default presets that will appear under the Predefined Settings dropdown. Here is a list of the presets with their corresponding Hotkeys, which are located
on the top row keyboard:
| Preset | Hotkey |
| Lung | 1 |
| Bone | 2 |
| Liver | 3 |
| Brain | 4 |
| Soft Tissue | 5 |
| Initial | 6 |
| Auto Range | 7 |

If you've changed the Window/Level values for an image, you may save them as a predefined setting.
To save a predefined setting:
Click
the Save Window/Level icon ![]() on the Window/Level
toolbar
on the Window/Level
toolbar
When the dialog box Edit WL preset appears enter a name
Add modalities with the Add: dropdown
Click OK.
To edit an existing preset:
Select it from the Window/Level dropdown on the Window/Level toolbar
Modify the selected image's Window/Level to the new values
Click
the Save Window/Level icon ![]() to
open the Edit WL preset dialog
box.
to
open the Edit WL preset dialog
box.
Enter its exact name (case sensitive). You may add modalities with the Add: dropdown.
Click OK and confirm you want to overwrite.

There are three ways to return an image to its original Window/Level:
Click the Reset window/level
icon  on the Toolbox toolbar.
Press the default reset window/level command shortcut: Ctl+Shift+L
Double click the Series tile at the left end of the thumbnail row.

The customize settings includes some configuration parameters for assigning default values to images without a predefined window width and center, and for overriding those assigned values.

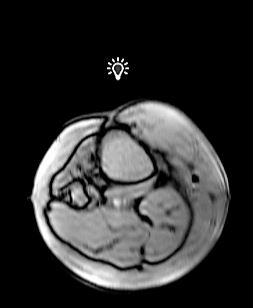
The mouse window/level tool applies the offset resulting from the mouse movement to all the images in the selected series. If the other images in a series start with a different window/level setting, they will be different after using the mouse tool.

There are two ways to change the Window/Level Values within the numerical value box :
Sliding
Gauge - Click in field and drag up to increase the value
and down to decrease it 
Explicit Numeric Definition - Select the space where value is and input desired numerical value

The small arrow at the right of the
field values at the left end of the Window/Level toolbar is a dropdown.
Select the down arrow  at
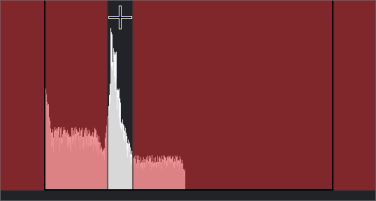
the right end to reveal a histogram.
Click and hold on the + sign near the center of the histogram and drag in different directions to change the W and L numbers. The image will change accordingly.

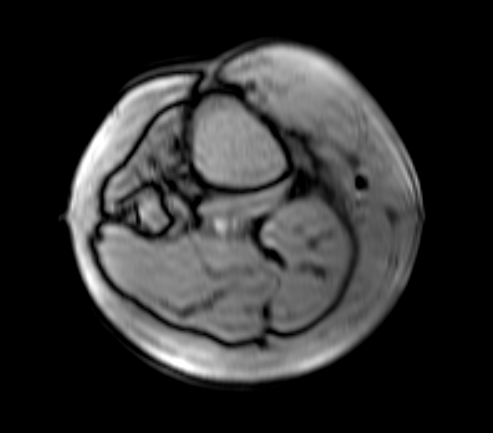
To toggle an image between positive and negative:
Select it in an Image Frame of the Series View
Click
the Invert greyscale icon  on
the toolbar
Positive Negative
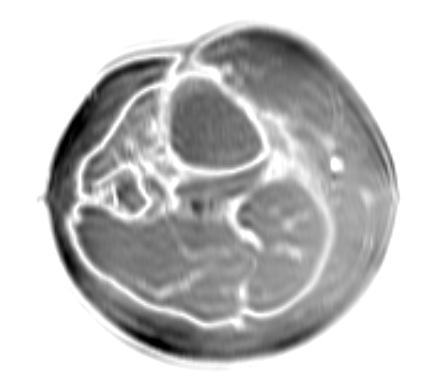
For color images, eRAD PACS can apply
a greyscale color map in place of the color palette. The result is a black
and white rendering of the color image. To remove all color from a color
image, click on the Color/Greyscale ![]() icon.
This icon is not available on the Window/Level toolbar by default however
it can be added in the Tools/Customize.
icon.
This icon is not available on the Window/Level toolbar by default however
it can be added in the Tools/Customize.
Note: In monochrome images, this feature is disabled.
At times, the viewer receives images that have improperly encoded window width and center values, or the technologist may have inserted erroneous values into the image objects. To accommodate these situations, eRAD PACS provides configuration settings it can use to override some default values.
Three settings exist for working around these window/level issues:
| Window/Level Settings | Description |
Use W/L Range |
When the image object contains no preset window and level setting, eRAD PACS can define the default range to use for calculating the values. When this setting is enabled, eRAD PACS uses the actual range of pixels values to define the default window width, and positions the window center in the middle of the pixel range. When disabled, the defined minimum and maximum values are used to set the window width, with the window center set to the middle of the range. |
Auto W/L Setting |
Some image objects include unused bits in their definition of the pixel value, resulting in a very wide window width, even though the pixel data is confined to a considerably smaller area. When active, this setting overrides the study/series/image with the actual pixel range as calculated by eRAD PACS. Use this setting when a particular modality’s images define a window range that is too large. |
Auto W/L Range |
Some images have noise at the extreme ends of the pixel distribution curve, which can distort the calculated window width and center values. Use this setting to eliminate the noise by defining how much of the pixel data to image include in the automatic calculation of the pixel distribution. |
These settings are located in the Settings panel under Images/Window and Level.
See: Window and Level