 eRAD
PACS Server
eRAD
PACS Server

eRAD
PACS Server
The Preferences Page provides instructions for changing user and workstation settings and allows the user to customize its interface to allow for ease of use.
To access the preferences page:
For further information, see:

The general options section contains settings for changing language , time zone, color scheme, as well as other customized settings.
General Options Settings |
Default |
Description |
| Language | System Default | Change language |
| Displayed time time-zone | Use location time zone | Change time and time zone |
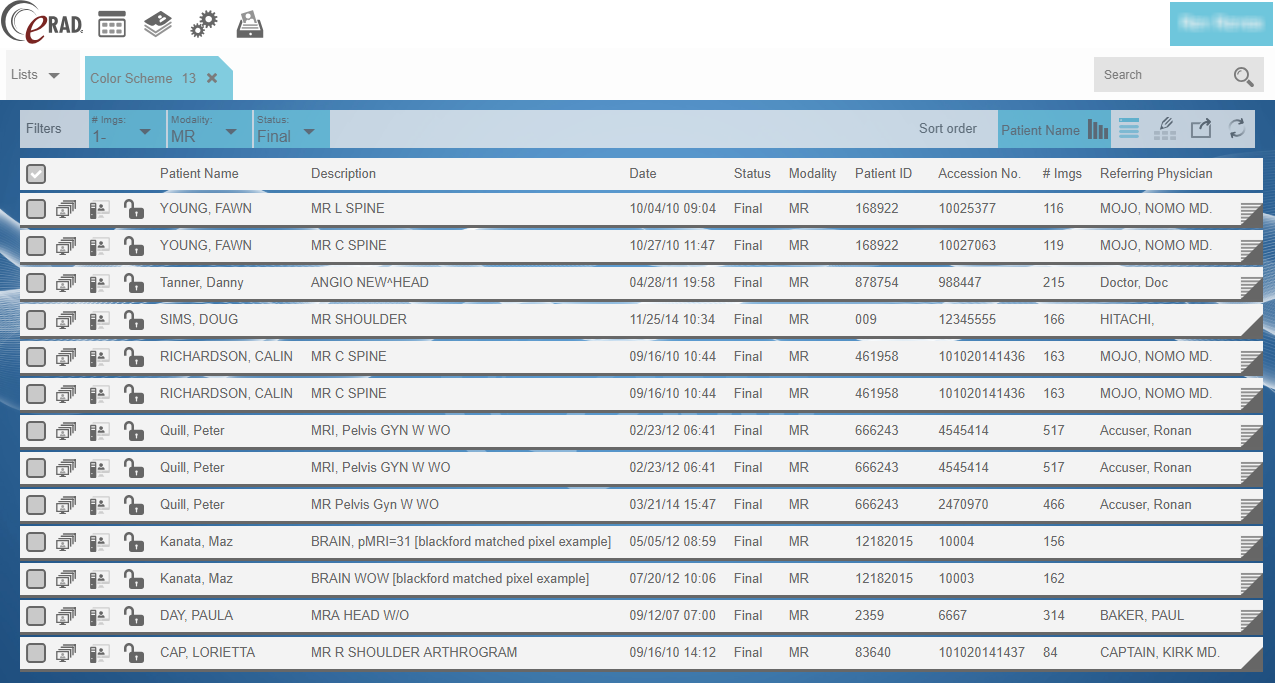
| Color Scheme* | ERAD | Change color scheme |
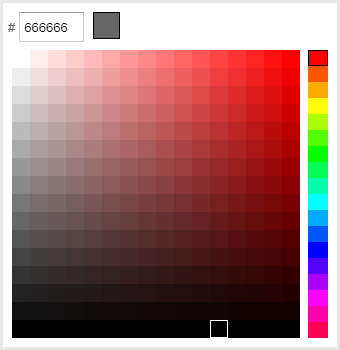
| Icon Color | #666666 | Icon Color |
| Default start page | Use System's Default | Select default startup page at log in |
| Confirmation on logout | Disabled | Confirm action alert before log out |
| Thumbnail size | 64X64 | Changes image thumbnail size in tech view |
| Animation speed | Instant | |
| Automatic worklist refresh | Disabled | Automatically refresh worklist |
| Worklist refresh period | 2 minutes | Refreshe worklist period minimum 2 minutes to maximum 30 |
| Automatic opening of attachments and reports | Disabled | Open attachments and reports at log in |
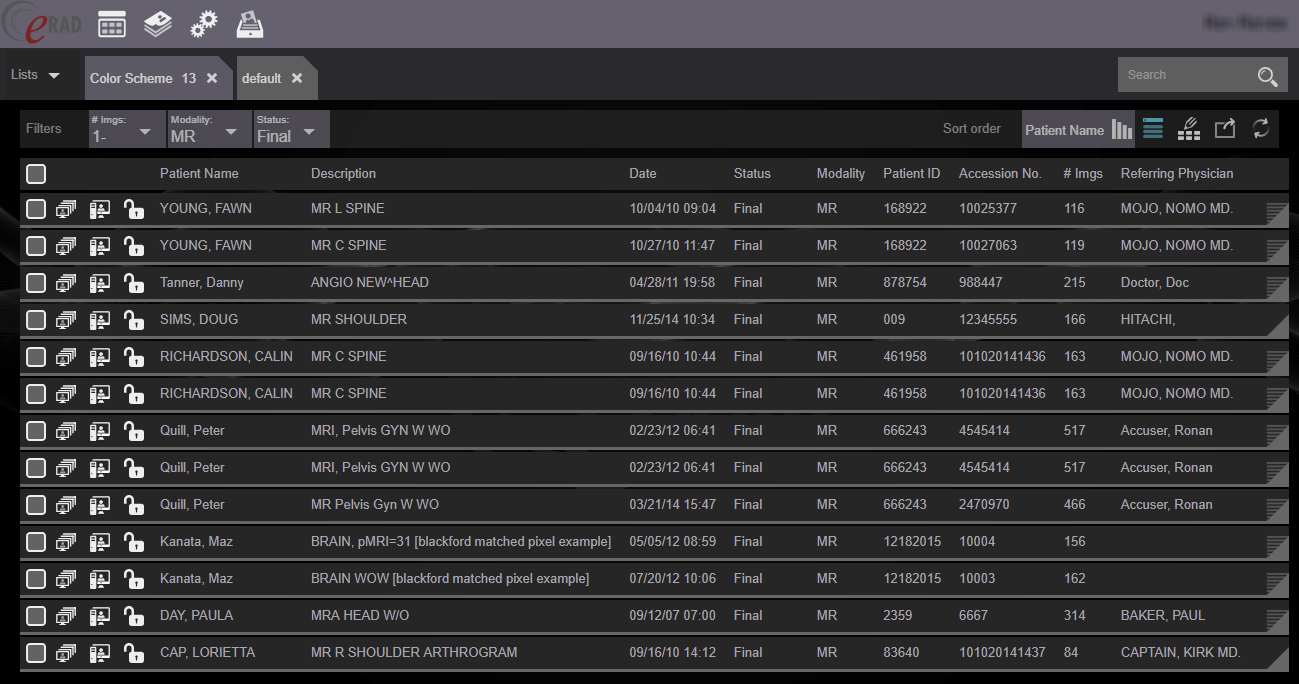
*In the section Color Scheme, there is an option named Darkroom, that displays the server page in a dark gray scheme for ease of viewing. This option appears in other areas of the server such as the server settings, user account and group settings.
See: Server Settings
eRAD Color Scheme
Darkroom Color Scheme
The personal information section allows the user to review and edit personal information such as their e-mail address, phone number and passwords.
| Personal Information Settings | Description |
| User Name | Change user name |
| Email address | Change email address |
| Address | Include user address |
| Phone number | Include user phone number |
To change personal information:
Select the Personal Information tab
Replace the information in the user information field
Click
the Save icon 
To
add a new e-mail address or phone number select the Add new  icon. Select the Reset
form
icon. Select the Reset
form  icon to start over.
This area allows the user to change their log in password.
To change user password:
This area allows the user to create custom dashlets that include user-to-user messaging, Twitter widgets or worklists.
To create a dashlet:
Select the New
Page icon 
Select the Add Dashlet tab
A page line will appear where the user can create or delete a dashlet. Multiple numbered pages can be created by selecting the New Page icon. There is also an Add Group tab which allows the user to create and name a group of dashlets under a numbered page.

When the Add Dashlet tab is selected, a new page appears with a Select dashlet type dropdown. Selecting this dropdown reveals a group of dashlets.
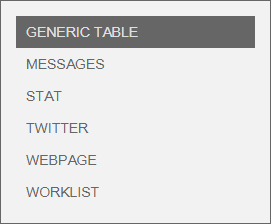
Select the dashlet and click on the Create to add a page on the dashboard. Selecting Cancel will return the user to the main Dashboard Settings screen.
See: Dashboard
This page allows the user to change media type and compression settings when downloading studies.
| Media Options Settings | Default | Description |
| Media type | CD | Your default media type: CD, Compact flash, DVD, DVD-RAM, Multimedia card, Secure digital card, USB device |
| Preferred compression | Uncompressed | Your default compression setting: As is, JPEG, JPEG 2000, uncompressed |
| Add viewer | Enabled | Include a viewer on the media |
| Omit structured report objects from DICOMDIR | Disabled | Include structured report objects with the images and other objects |
This page contains the settings to change the click speed, show annotations, and change the color scheme of the web viewer.
| Web Viewer Options Settings | Default | Description |
| Double-click speed (msec) | 500.0 | Multiple clicks within the defined time period are recorded as a double-click action. |
| Long click speed (msec) | 500.0 | Multiple clicks within the defined time period are recorded as a long click action |
| Default size of the report area (%) | 30 | The percentage of the screen allocated to the report when displayed |
| Dynamic help | Hide all help | If enabled, pop up the help bubble when the cursor hovers over a control area of the screen |
| Show scanned documents | Enabled | Include objects tagged as scanned documents in the web viewer |
| Show annotations | Disabled | Include annotations in the web viewer |
| Default linking | Enabled | Images will appear in like planes in web viewer |
When changing the color scheme, a dropdown will appear that allows the user to customize the viewer colors.
| Color Settings | Default |
| Background | #000000 |
| Menu | #4c4c4c |
| Text | #ffffff |
| Annotation default | #00ffd8 |
| Annotation default selected | #ffffff |
| Image overlay | #00ffd8 |
| Layout grid background | #b2b2b2 |
| Layout grid movement | #4c4c4c |
This area allows the user to customize the scanner settings such as the source of the scanner or the format (JPG or PDF) of the scanned document.
| Scanner Settings | Description |
| Set scan source | Select the default scanner |
| Set scanner defaults | Activate the scanner’s setup application to set the scanner settings |
| Scan test into JPG with defaults | Test the scanning function creating JPEG files using the configured settings |
| Scan test into JPG with settings page | Test the scanning function creating JPEG files by activating the scanner’s setup application |
| Scan test into PDF with settings page | Test the scanning function creating PDF files by activating the scanner’s setup application |
| Fast scan test into JPG with settings page | Test the scanning function creating JPEG files using a fast scan setup |
When the link is selected, the window that pops up is generated from the scanner device. If no options are available, check to see the scanner device has been properly connected to the workstation and the scanner software has been properly installed. Refer to the scanner’s documentation for additional details.